


1. http://www.wonkity.com/~wblock/docs/html/disksetup.html
2. http://rickvanderzwet.nl/trac/personal/wiki/FreeBSDOnEmbeddedDevice
for me, there is only one reason to do FreeBSD installation manually, to learn more by going through the process, i doubt there is significant faster or usefulness compare to using sysinstall
i will use virtualbox with FreeBSD dvd FreeBSD-9.0-RELEASE-i386-dvd1.iso so skip downloading online files since i do offline installation.
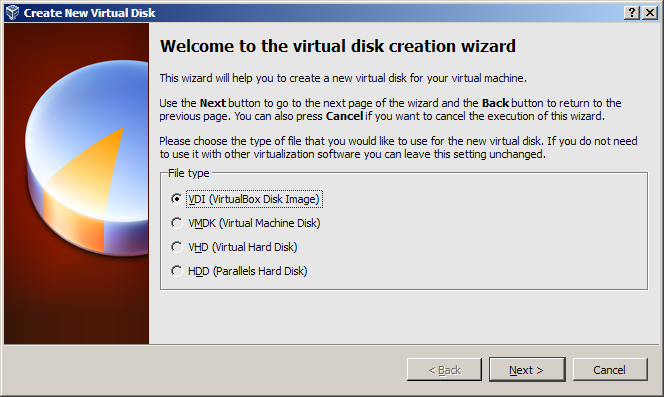
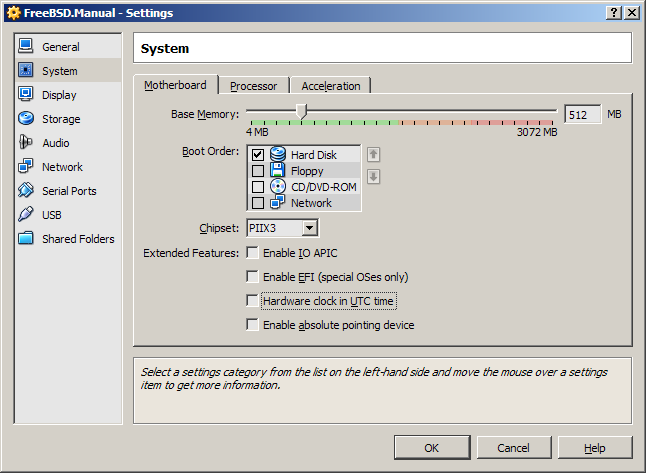
1. follow the images below, these are the process to create a freebsd guest box using virtualbox.


2. we will add the FreeBSD iso file to guest box, as shown on below picture.

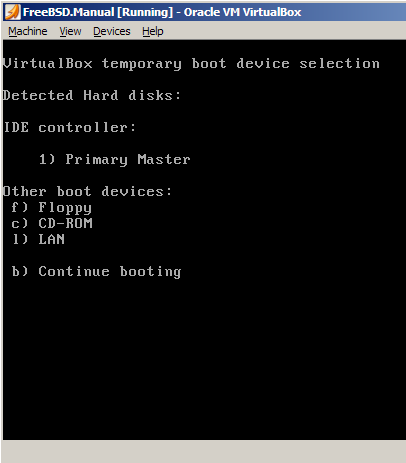
3. start our guest machine, you may need to press F12 and select to boot from cdrom by pressing c
4. select Live CD then system will boots us into shell.

5. the login ID is root

6. we will create our GPT partition table first using gpart on our blank virtualbox hard disk. ( /dev/ada0 ) /dev/ad0 for freebsd before version 9.0
# gpart create -s gpt ada0
ada0 created
7. we could show our partition using the following command
# gpart show -l ada0
=>	34	37748669	ada0	GPT	(18G)
	34	37748669		- free -	(18G)
8. next is create a boot partition and apply bootcode on that partittion, this boot partition is NOT /boot
the -i is partition index number that we want to bootcode to be wrote into.
# gpart add -t freebsd-boot -l gpboot -s 512K ada0
ada0p1 added
# gpart bootcode -b /boot/pmbr -p /boot/gptboot -i 1 ada0
bootcode written to ada0
9. next we create a / root filesystem partition ( 10G ), a swap partition ( 512M ), and the fill the rest partition for /usr.
#gpart add -t freebsd-ufs -l gprootfs -b 1M -s 10G ada0
ada0p2 added

#gpart add -t freebsd-swap -l gpswap -s 512M ada0
ada0p3 added

#gpart add -t freebsd-ufs -l gpusr ada0
ada0p4 added
10. if you do a gpart show, you should probably get something like below.

11. if you somehow want to redo everything, you must delete the added partitions then only you can destroy the partition table.
#gpart delete -i 1 ada0
ada0p1 deleted
#gpart delete -i 2 ada0
ada0p2 deleted
#gpart delete -i 3 ada0
ada0p3 deleted
#gpart delete -i 4 ada0
ada0p4 deleted
#gpart destroy ada0
ada0 destroyed
12. we then format the partitions with UFS filesystem using the below commands, we don't have to newfs swap and boot partitions
#newfs /dev/gpt/gprootfs
#newfs -U /dev/gpt/gpusr
13. we will mount those partitions on /mnt and then extract based.txz & kernel.txz to it. we need to create /usr directory inside /mnt because we want to mount /dev/gpt/gpusr to /mnt/usr
#mount /dev/gpt/gprootfs /mnt
#mkdir /mnt/usr
#mount /dev/gpt/gpusr /mnt/usr/

#xzcat /usr/freebsd-dist/base.txz | tar --unlink -xpzf - -C /mnt/
#xzcat /usr/freebsd-dist/kernel.txz | tar --unlink -xpzf - -C /mnt/
14. we then write /etc/fstab to enable our next boot automount using vi
#vi /mnt/etc/fstab

15. do a reboot and start adding packages! make sure you change the boot loader to boot hard disk first.
Labels: bsd, freebsd, install, os, virtualbox
Post a Comment